Okay, here's a simple project that's easy to do, but timing is everything.
A few years ago I built something that has saved me a lot of battery packs.
Have you ever plugged in a battery operated device to charge it, then forget about it? You come back a few days later to unplug the charger and you notice the batteries are warm. You just fried your ni-cads. The cheap chargers don't know when to quit. They'll keep current flowing through the batteries for way too long. Heat equals death for ni-cad batteries. It's also a waste of electricity. If the device doesn't have an indicator to show you that charging has stopped, then it's most likely still going, even days later.
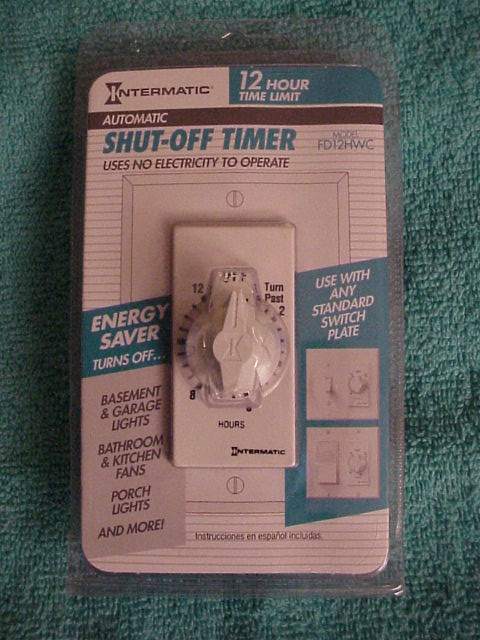
The main component to all this is the Intermatic 12 hour shut off timer, FD12HWC. It's a simple mechanical timer that goes off after ticking down for the amount of time you dial up. If you act fast, Home Depot seems to have these on closeout at $5 each. Way down from the $15 plus I paid. If you miss them at Home Depot, I'm sure you'll be able to get them at electrical wholesale houses. The rest of the parts are cheap electrical supplies available at Home Depot for just a few bucks. Get the deeper electrical box to give you a little more room for the wiring. You should be able to make one of these for under $10... if you act fast.
Here's the timer you'll need to buy:
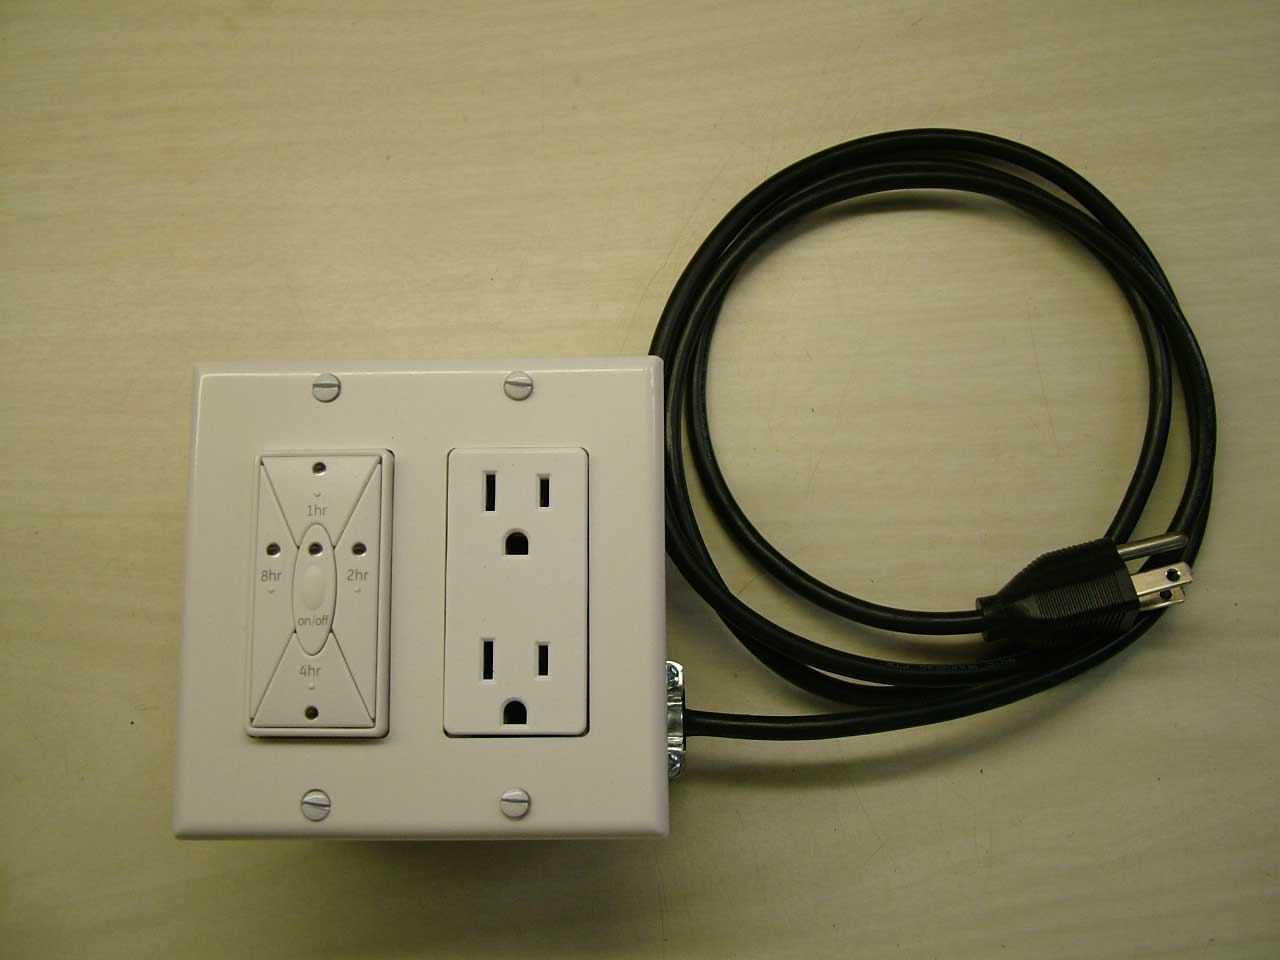
Here are pictures of the one I made, step by step. Wire it up as described below. I used stranded #12 wire to connect between the parts. #14 would be fine.
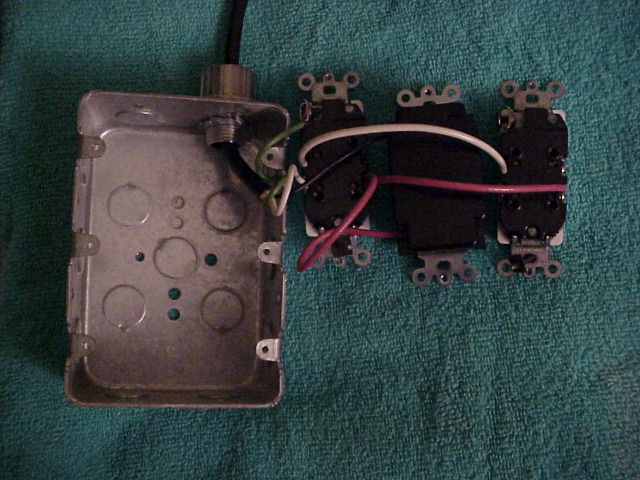
Line up the 6 mounting screws in the center of the slots.
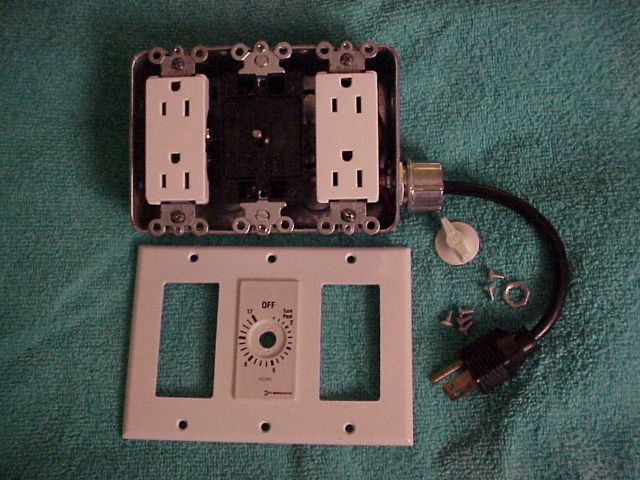
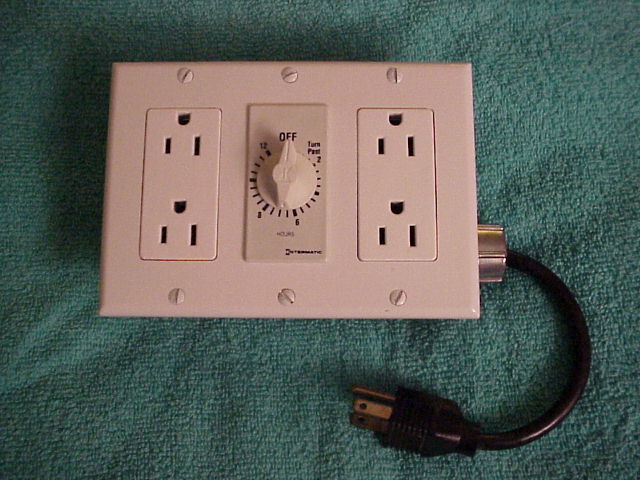
This is what it looks like with the newer fancy wall plate. It works with
the older style too.
Of course, you're free to modify this design. Maybe just one duplex receptacle? Maybe mount it on the wall in the shop and omit the line cord? Add a pilot light? One in the kitchen for the coffee maker? Have fun.
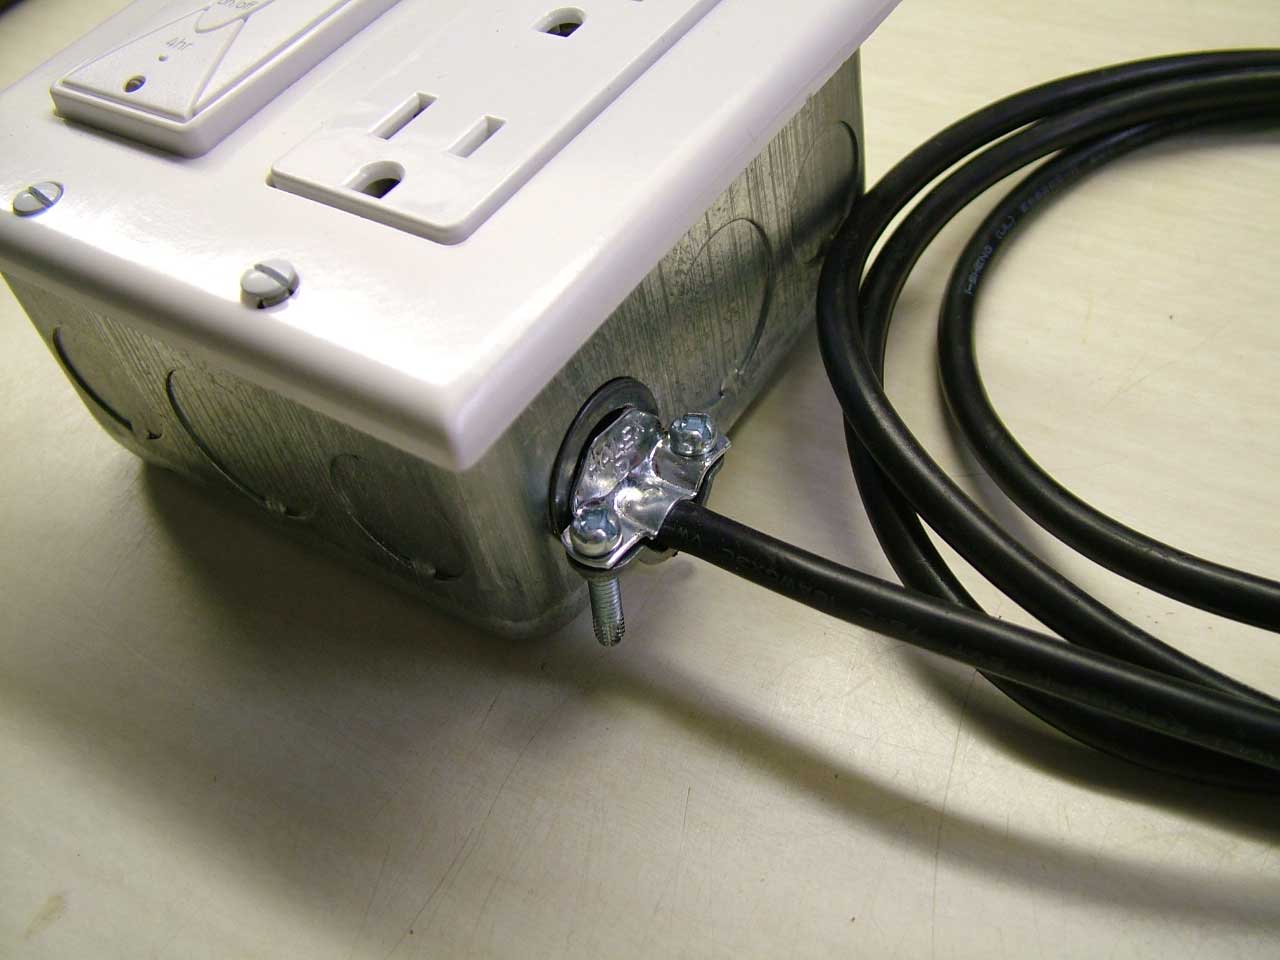
To wire it, the black wire from the line cord goes to one side of the timer. The other side of the timer goes to the darker brass screws on the receptacles. This is the 'hot' side. The while wire from the line cord goes to the silver screws on the receptacles. That's the Neutral. The green ground wire from the line cord goes to the electrical box. It should take about 2 hours to do this project, one of those walking around in Home Depot. It might also make a nice group project at a club meeting.
If this is your first project that uses 120 volts, get a friend to check the wiring for you. He or she can use an ohm meter to verify that the Hot and Neutral are not shorted to each other, or to the metal box. You can use a 3 light outlet checker to make sure you got the receptacle wiring right. Do NOT attempt to plug this in while the box is open and the wires are exposed.
When your batteries are getting low, plug the charger into your battery saver, twist the knob to 5 to12 hours, depending on the recommended time in the devices instructions. Set it and forget it.
Enjoy! Ray, KD4BBM
Some updates and a new version from Ryan C:
Hi Ray -
I finally broke down and built a battery charger timer like the one you posted
on your site, and it's getting quite a bit of use. I've attached pictures with a
new timer. I resorted to a universal line cord for power as I have dozens of
them laying around here and I didn't feel like wiring another plug. ;-)
The timer was $20, but worth it to not have the ticking sound of the knob type,
and I like buttons anyway. *grin* http://www.homedepot.com/webapp/wcs/stores/servlet/ProductDisplay?productId=100685872
-Ryan
12/08/2009